
Hello Friends Everybody Nows The Power Of the social networks .social networks can easily give u 400-500 regular visitors on your blog.So Today We Will Teach you how To Add A Tabbed Subscription Box In Your Blogger Sidebar .Please Continue....
Do you want to convert your Readers into Followers by letting them subscribe to the website’s Feed? Let us assume that someone arrived on your website. Ongoing through the website’s content the visitor loved its quality, so he decided to subscribe to the website, but soon he realized that there is no way of doing that. In this situation, a Webmaster loses lots of potential subscribers. Therefore, it is essential to display all the available subscribing opportunities so that a visitor can easily select his favorite social platform and start getting updates directly into his Inbox. Featured of Tabbed Subscription Box:
- It is compact in size so it can be implemented on the smallest part of a website.
- It works perfectly on all browsers including Chrome, Firefox and etc.
- It will not going to affect the speed of a website because we have integrated a highly compressed Jquery file in this widget.
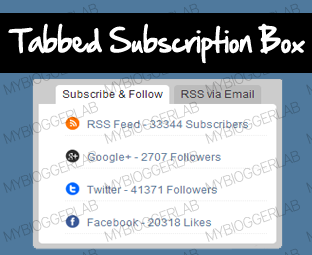
- It has two Tabs out of which one tab has links to Facebook, Twitter, Google plus and the other tab has the RSS Email Subscription box.
How To Install Tabbed Subscription Box in Blogger:
It Is very easy to add this tabbed subscription box
- Go To Blogger.com >> Template
- Select Edit HTML >> Proceed.
- In the template, search for ]]></b:skin> and above it Paste the Following CSS Code.
Download Coding
- Now again in the template Search for </head> and just above it Paste the Following JavaScript Coding.
Download Coding
- Save the template by pressing “Save Template” button and proceed to the next step.
Adding Tabbed Subscription Box To Blogger:
Since, we have installed all the CSS and JavaScript coding to our Blog let’s head towards the next step and that is to add HTML Coding. Follow the instructions mentioned below.
- Go To Blogger >> Layout >> Add a Gadget.
- From the list select Add HTML/JavaScript and paste the Following HTML Code.
Download Coding
All Done: After customizing the highlighted coding press “Save” Button and the Tabbed widget is successfully integrated. Now go ahead and enjoy the picture perfect Subscribe now Box.


